Step up to long arm quilting and into a new world of possibilities

Quilting as a hobby is thriving. Whether it’s the joy of creating, celebrating tradition, for the love of fabric, or simply bestowing our projects onto others, once you get started it’s hard to look back. As we continue to churn out quilt tops, one fact becomes clear—we need to get them quilted!

Using a sewing machine to quilt small projects is easy and relaxing for the most part, but it can be a lengthy process moving a queen-size quilt through the machine. If you’re looking to step up your craft, it may be time to consider adding a long arm quilting machine to your studio or sewing space.

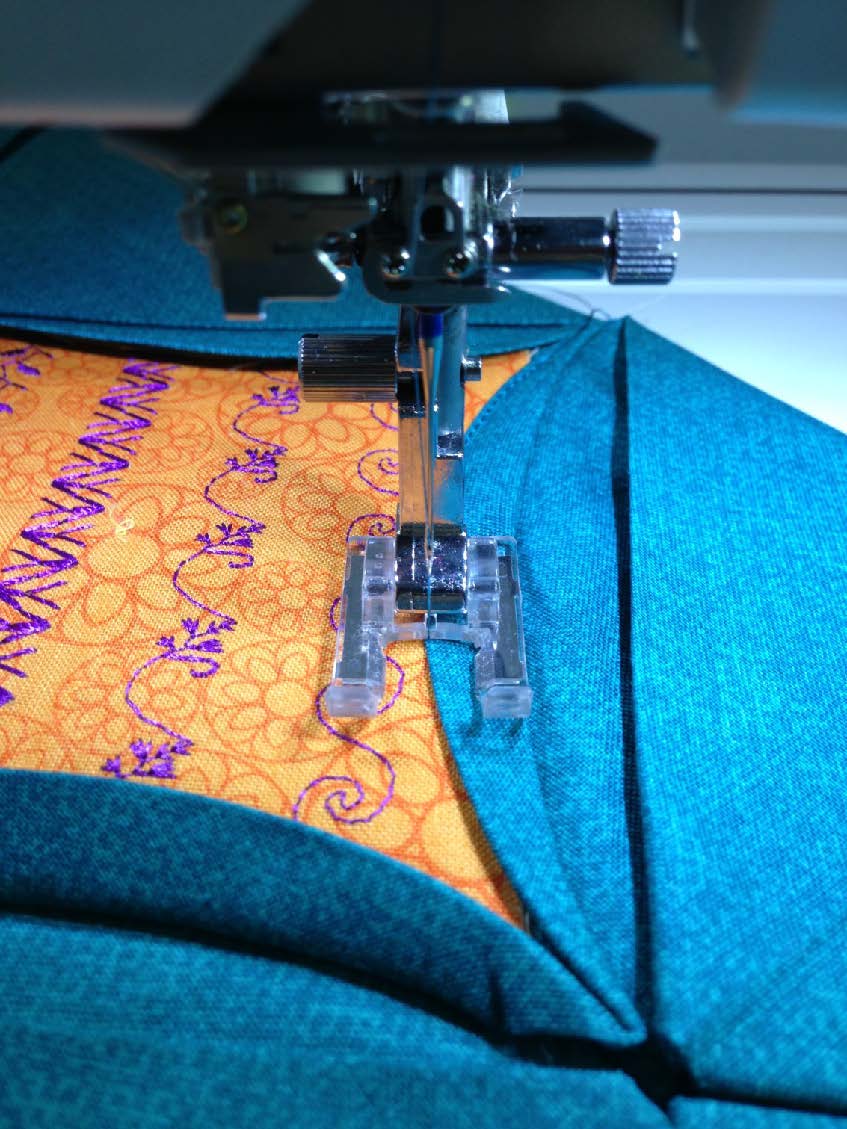
The Quilt Maker Pro 18″ Long Arm Quilter is the first-ever 18’’ long arm quilting machine to bear the distinctive Janome mark in Australia. With key features such as sturdy steel frame, 18” machine arm, speeds of up to 2,200 stitches per minute and numerous exclusive features, the Quilt Maker Pro 18 is the newest long arm quilting machine to tackle any project with speed and precision. You’ll comfortably be able to quilt heirlooms and gifts for family, friends, and charity for hours at a time.

• 18-inch arm – With this much room in the throat of the machine, plus 8.5 inches of distance between top and bottom, the Quilt Maker Pro 18 allows you to quilt large and bulky projects with plenty of room to spare. This also means for less movement of your quilt while you work your way through.

• Janome thread stand in a very convenient location at the front of your machine for the easiest threading possible. The machine can cater for two large vertical spools located at the front of the machine.

• Magnets on each side of front screen display for easy access to your most used tools. Store your scissors, pins, screwdriver or any metal tools on the magnets. The added bonus of the magnets is that they also have additional LED lighting strips underneath so you have plenty of lighting available to quilt until for hours.

• Digital tension control with numbers – Whether you’re quilting using a 40 weight thread or a 100 weight thread, you can easily alter your tension to suite the thread you are using. Simply adjust your tension dial (tighter or looser) and the colour touch screen displays a tension reference number.

Visit your local Quilt Maker Pro 18 dealer for an in-store demonstration today.

Click here to check out the full specs and features of Janome Quilt Maker Pro 18″ Long Arm Quilter.

Saving Files for Janome Embroidery Machines

.jan, .emb, .jef, .jpx. No, we’re not talking gibberish, we are speaking Janome embroidery language.

One of the most important things you need to know about embroidery designs are the correct format – more specifically the file type in which your Janome embroidery machine is able to read. In today’s post we do a quick run through on the formats that current Janome embroidery machines can take:

.jef is a “Stitch Data” file and is the default format for all current Janome embroidery machines.

It’s made up of Janome machine readable files, with instruction for every stitch in the design, and coordinates to move the hoop.

If you’re purchasing embroidery designs from websites, you need to choose the. jef format. Same applies if you buy a CD of designs; be sure to check that it has the .jef format. If this format is not available, you will need software to convert the design to .jef.


.jef+ is an editable “Stitch Data” file created in Janome software programs.

It’s made up of two or more .jef file created in the edit function of the machine HMC15000, HMC14000, HMC12000, Skyline S9, MC9900, MC11000SE, MB-7, MB-4, MC500E and MC400E or Horizon Link/Suite. This means that each of the .jef that were brought into the edit screen can be moved, rotated, resized, etc. at any time. (Previous generations permanently grouped all designs when confirmed in the edit mode. All designs became a .jef and could no longer be edited individually.)

The format will also recognise hoops that are bigger than earlier generations of Janome embroidery machines.

Designs sent from the machine or Horizon Link/Suite to computer/USB are .jef+.

Note: The following machine models can only read .jef files: MC10000, MC9700, MC9500, MC370E, MC350E, MC300E, MC200E.


.jan is the “Master Data” file created in Janome Digitizer up to version 4.5. This is a working file whilst in the software. It’s made up of object data, thread colour, fill pattern, density and dimensions. This is the stage that you can make changes before sending it to become stitches and save as a .jef or .jef+.


.emb is the “Master Data” file created in Digitizer MBX V5. This is a working file whilst in the software. It’s made up of object data, thread colour, fill pattern, density and dimensions. This is the stage that you can make changes before sending it to become stitches and save as a .jef or .jef+.


.jpx has exclusive information that the current generation of Janome machines may need for special functions i.e. Cutwork, AcuFil and graphics.

You will need Digitizer MBX V4 and upwards to create a .jpx file. Digitizer automatically writes .jpx when writing to the USB or directly to the HMC15000, HMC14000, HMC12000, Skyline S9, MC9900, MC500E and MC400E.

AcuFil automatically writes to USB as *.alf.


.jpx contains both the stitch data and a background image together (.jpeg). This allows the HMC15000 and HMC12000 to display a .jpeg on the screen (this can be an image of your fabric) while positioning the design for improved positioning accuracy.


Additional Tips:

If your machine is WIFI enabled, you can transfer the design wirelessly using the iPad or computer.
With current Janome sewing and embroidery models, when you insert a blank USB stick into the USB port on your embroidery machine, your machine will automatically create 2 folders on your USB stick, an EMB folder and an ORD folder. Your designs should be in the EMB / EMBF sub-folder. This is the folder that your machine will look for embroidery designs.

Have you tried out the range of Janome embroidery machines with brilliant functionalities that make life so much easier to be creative?

Custom Crafted Zig Zag Foot – Accessory Of The Month September 2017

The Custom Crafted Zig Zag Foot may also be referred to as the Open Toe Satin Stitch Foot or F2.  This is an excellent multi-function foot which allows for fantastic visibility whilst the machine is sewing. And best of all, this Accessory of the Month comes with a bonus project – click on the link in the PDF and the easy step-by-step instructions are right there for you to follow.

Download brochure here